Sunday, December 25, 2011
Monday, December 5, 2011
Thanksgiving and Art
The Thanksgiving holidays were wonderful with family. We had a crowd with Becky's family and mine along with Pat and Greg joining us. Terry, Jr., Melisa and Michael were with her family this year but we'll all be together at Christmas at Becky's home. As usual the four wheelers got a workout; big kids, little kids, it doesn't matter they love zooming around the property on it. Becky and I can't watch.
Todd, Lori and the girls came up on Wednesday and spent till Sunday. Lots of fun for all of us. Todd took each of the girls deer hunting with him. Lori washed lots of dishes for me, and we all ate and ate and ate. They hiked, played lots of games, and watched movies too.
 |
| Alexandria |
 |
| Bailey |
 |
| Ava |
 |
| Bailey busy at work |
 |
| Alexandria, Bailey and Ava's Artist Trading Cards |
 |
| Lori and Ava getting started |
When the girls come up we always have art projects, so this time was no exception. I wanted to try to find something that would be fun for all of them to do together. So I introduced them to artist trading cards. These are little cards 2 1/2" X 3 1/2" that artists paint, collage, draw or whatever they want to do to create what they want to express on the card. Each of them made there own card and we ran out of time or we probably would have made more.
 |
| Alex and Todd taking a Break |
I got each of them their initial made out of chipboard so they could do whatever they want on it. It can be hung from a ribbon or in a wall grouping of their things. I gathered up all kinds of papers, fabric, sequins and jewels for them to collage with. They bedazzled their letters with all of the embellishments of their choice. Lori helped and we managed to keep everyone on track to complete their artwork. Bailey is the one who really concentrates and plans her project. She really got into it and collaged fabric all over her letter before she started adding other things. I think everyone, even Lori had a good time with the glue and scissors.
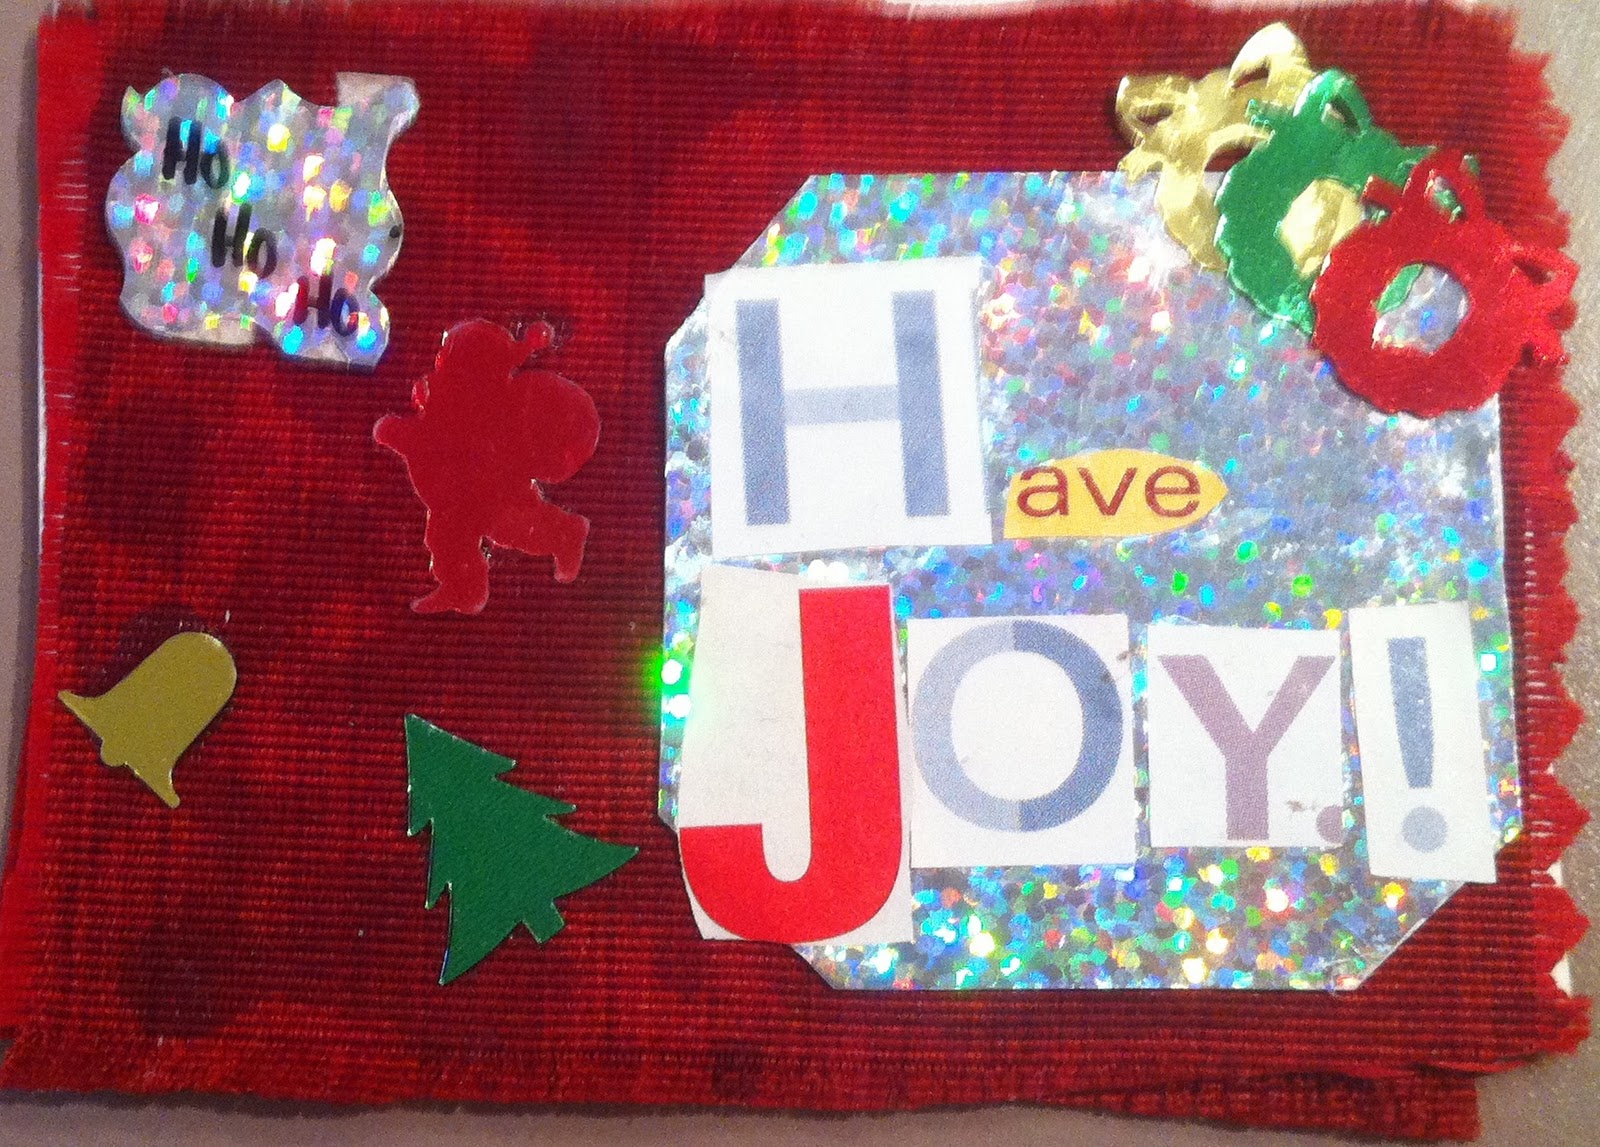


Alex wanted to make a Christmas card, Bailey did the frog by the pond, and Ava and Lori did the Princess and paper dolls card. If you have kids of all ages I think they really do get into it once they get started. You can use photographs, magazines, stickers whatever you have on hand, you can even cut just card stock to whatever size you want and let them get started. I assure you it's additive and quiet. Just Google Artist Trading Cards and see what all people do with them. I've done some that are encaustic that I'll post on my artist section.
Sunday, November 6, 2011
Creating Art with Citrasolv
 |
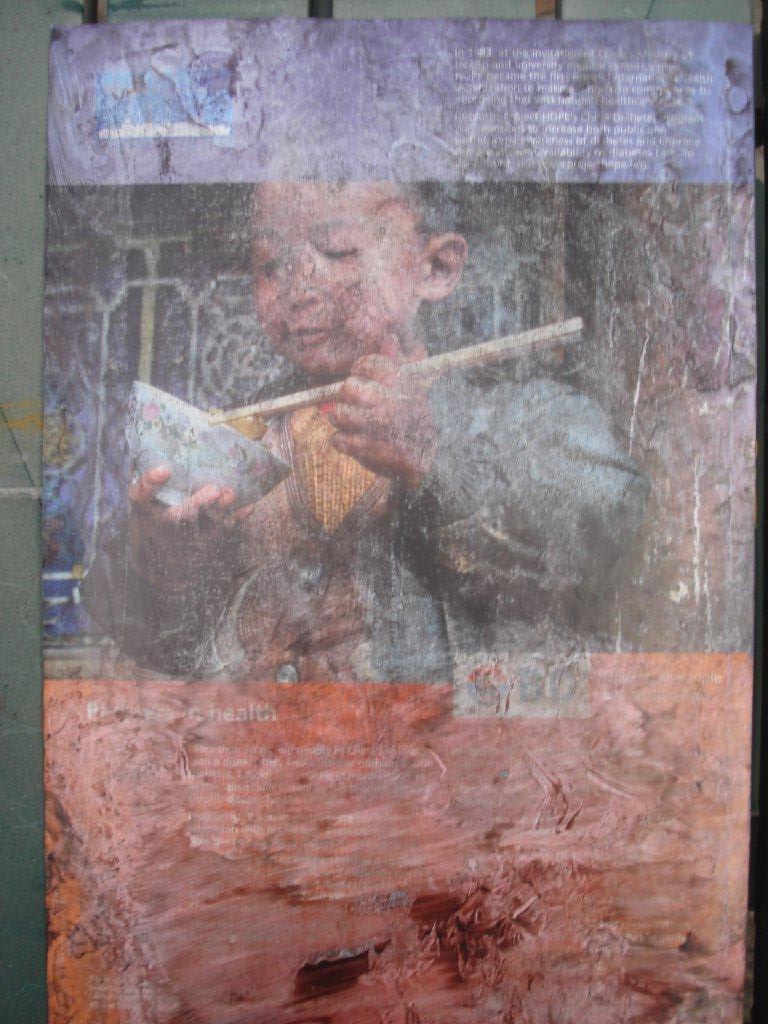
| Sustenance 8" X 8" Collage |
Citrasolv is something that you can play with and create art in many ways. Friends of mine have added the Citrasolv papers to jewelry, boxes, whatever you can dream up. I have tried to use it as inspiration because it is really beautiful, but I've never used the actual papers (you can though). I usually photograph them on various other papers or just paint them using them as inspiration. Everything is one of a kind and it just depends on how you have manipulated it as to what appears. The colors and shapes can be really exciting.
 |
| Magazine sheet Citrisolve applied. |
I will describe how I have gone from the first sheet of National Geographic Magazine which I put the Citrasolv solution on, to the finished collage that is 8 X 8 inch gallery wrapped board. I took the altered sheet of NG and photographed it, then I printed it on fiber material sheets. You can find all kinds of papers now that you can print on so try different ones for different effects. After I printed the sheet, I got out my collage papers which are a variety of handmade papers of all types to add to it. I use medium as my adhesive but you can use whatever you are use to working with. You just collage as normal using all of the papers, working them into the design that pleases you. In collage you tear the papers into shapes and adhere them to your substrate, when completed you need to spray the artwork with a UV Spray to protect the colors in the artwork.
Citrasolv is like an orange natural stripper but you use it to disturb the ink on magazine pages, National Geographic works the best, but I have successfully used other magazines. They must have very good ink and paper for them to work. Do this outside and wear old clothes this can be messy and smells like very strong oranges. Use a chip brush or paint brush (mine was 1" wide) and paint plenty of the Citrasolv on the magazine pages, one after another (front and back) and close the book, let it rest for 5 or 10 minutes then put pressure and rolling on the magazine even with a rolling pin or bottle, squish the ink out of the magazine. The pages can be touched and you will see how the ink will react to different things. You can touch the pages together and pull them apart to get neat effects. The binding on the magazine will come apart and the sheets will separate and you lay them out to dry individually, best side up. While the sheets are wet you can press the sheets together and pull them apart, moving the ink around on the page. When they are dry the ink doesn't move around anymore. Also... wear gloves.
 Supplies: NG Magazine, Citrasolv CONCENTRATE(Ingle's in the area with ammonia and cleaners be sure you get the concentrate), gloves, chip/paint brush (cheap one); optional supplies after the magazine pages are created are UV Spray, adhesive of your choice, different types of paper to run through the printer.
 Supplies: NG Magazine, Citrasolv CONCENTRATE(Ingle's in the area with ammonia and cleaners be sure you get the concentrate), gloves, chip/paint brush (cheap one); optional supplies after the magazine pages are created are UV Spray, adhesive of your choice, different types of paper to run through the printer.
I loved creating the piece with the Citrasolv, hope you do to!
It's been a long time...
 I went and helped my sister do a program for a garden club last Thursday. Becky's a Master Gardener and will do programs occasionally for the promotion of gardening. So she wanted me to help her do this one on Tussie Mussies. Becky and I went to a book signing for Geraldine Adamich Laufer's book, "Tussie-Mussies: The Victorian Art of Expressing Yourself in the Language of Flowers". This is a beautiful book and we were trying to determine how long ago it was when we had met her. We couldn't believe it had been 18 years ago! My I can't believe we are getting so old.
 When I got to Becky's house she had already picked flowers, leaves, berries and herbs for our class. She had florist tape, ribbons and lace to finish them off to perfection so off we went. We had a room full of ladies that were very attentive as Becky talked and then we each made one to explain and show them how. We helped them all make their own Tussie Mussies and met many lovely people and one made me want to start blogging again. I've been doing things lately that you all might enjoy and so I will try to show you what I've been doing.
To make Tussie Mu ssies all you need is florist tape to wrap the flower stems and then you can add ribbon or lace to decorate it but you really don't need it. The first thing is to select what you want in your center; I usually will use either one flower or three. I always use an odd number. Wrap the stem of your flower down to the length that you want to hold. Then you just keep adding flowers one at a time (and wrapping tape down the stem each time) until you have it like you want. The outer layer can be leaves to help make the flowers stand out. Keep in mind that you can add berries and all kinds of things, let your imagination take over. The wrapping keeps the flower stems from decaying and the little bouquets will last a really long time. Sometimes they even dry out beautifully. Keep them in water, a nice stemmed glass is a great thing to display them in.
Once you get use to making them you will find how easy they are to do with not really very many flowers. I have made alot of wedding bouquets in this manner even using the really nice silk flowers that look real. Hope you enjoy making them as much as I do!
 ssies all you need is florist tape to wrap the flower stems and then you can add ribbon or lace to decorate it but you really don't need it. The first thing is to select what you want in your center; I usually will use either one flower or three. I always use an odd number. Wrap the stem of your flower down to the length that you want to hold. Then you just keep adding flowers one at a time (and wrapping tape down the stem each time) until you have it like you want. The outer layer can be leaves to help make the flowers stand out. Keep in mind that you can add berries and all kinds of things, let your imagination take over. The wrapping keeps the flower stems from decaying and the little bouquets will last a really long time. Sometimes they even dry out beautifully. Keep them in water, a nice stemmed glass is a great thing to display them in.
Once you get use to making them you will find how easy they are to do with not really very many flowers. I have made alot of wedding bouquets in this manner even using the really nice silk flowers that look real. Hope you enjoy making them as much as I do!
Subscribe to:
Posts (Atom)

